Table of Contents
How to make Android WebView app – Android Studio?
Do you want to make an android app for your website? So this is the best tutorial for you. Have you tried, How to convert my website into an android app? How make an android app for my website? How to make a WebView app?
In this tutorial, we are discussing How to make android WebView app using android studio? If you did not read previous articles use these links to read that also.
How to make Android WebView app – Android Studio
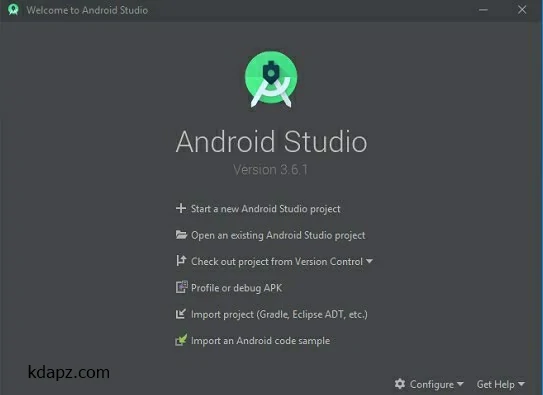
1. Create a new project for your android app. (if you don’t know to create a new project use How To Make Android App using Android Studio? article.


Android WebView component is inserted into the XML layout file for the layout we want the WebView to be displayed in.
2. Open res -> layout -> activity_main.xml (or) main.xml, create the application interface and add the WebView element to it.
WebView is a view that displays web pages inside your application. You can also specify an HTML string and can show it inside your application using WebView. WebView makes turns your application into a web application.
<WebView
android:id="@+id/webview"
android:layout_width="match_parent"
android:layout_height="match_parent" />
WebView component is initialized in the MainActivity using its id defined in the activity_main.xml as shown in the snippet below:
myWebView = (WebView) findViewById(R.id.webview);
WebView loadUrl() method is used to load the URL into the WebView as shown below:
myWebView.loadUrl("https://www.google.com");Supporting JavaScript: JavaScript is by default turned off in WebView widgets. Hence web pages containing javascript references won’t work properly. To enable javascript the following snippet needs to be called on the WebView instance:
webSettings.setJavaScriptEnabled(true);
3. Add WebView code to Your MainActivity. Open src -> package -> MainActivity.java. Here firstly declare a WebView variable, make JavaScript enable, and load the URL of the website.
And also You have to add this code also for calling the WebView.
private WebView myWebView;
Note: You can replace our URL in the below code with any other URL you want to convert into Android App.
myWebView = (WebView) findViewById(R.id.webview);
WebSettings webSettings=myWebView.getSettings(); webSettings.setJavaScriptEnabled(true);
myWebView.loadUrl("https://www.google.com");
myWebView.setWebViewClient(new WebViewClient());
4. Open the AndroidManifest.xml file and add internet permission to it just after the package name. It is required because the App will load data directly from the website.
<uses-permission android:name="android.permission.INTERNET"> </uses-permission>
5. After adding the permissions the application is complete but when you run you will find that it will open the links in the browser, not in the application itself. The solution for this is to add this line of code in your MainActivity.java class.
myWebView.setWebViewClient(new WebViewClient());
6. Now let’s add on back pressed, Can go back buttons to the application. To activate go back buttons you need to add the following code to your MainActivity.java class.
public void onBackPressed(){
if (myWebView.canGoBack())
{
myWebView.goBack();
}
else
{ super.onBackPressed();
}
}
Here are the full codes of the project
Activity_main.xml
<?xml version="1.0" encoding="utf-8"?>
<androidx.constraintlayout.widget.ConstraintLayout xmlns:android="http://schemas.android.com/apk/res/android"
xmlns:app="http://schemas.android.com/apk/res-auto"
xmlns:tools="http://schemas.android.com/tools"
android:layout_width="match_parent"
android:layout_height="match_parent"
tools:context=".MainActivity">

<WebView
android:id="@+id/webview"
android:layout_width="match_parent"
android:layout_height="match_parent"
/>

</androidx.constraintlayout.widget.ConstraintLayout>
MainActivity.java
package com.techedutricks.techedutricks;

import androidx.appcompat.app.AppCompatActivity;

import android.annotation.SuppressLint;
import android.os.Bundle;
import android.webkit.WebSettings;
import android.webkit.WebView;
import android.webkit.WebViewClient;

public class MainActivity extends AppCompatActivity {

private WebView myWebView;

@SuppressLint("SetJavaScriptEnabled")
@Override
protected void onCreate(Bundle savedInstanceState) {
super.onCreate(savedInstanceState);
setContentView(R.layout.activity_main);

myWebView = (WebView) findViewById(R.id.webview);
WebSettings webSettings=myWebView.getSettings();
webSettings.setJavaScriptEnabled(true);
myWebView.loadUrl("https://www.google.com");
myWebView.setWebViewClient(new WebViewClient());
}

public void onBackPressed(){
if (myWebView.canGoBack())
{
myWebView.goBack();
}
else {
super.onBackPressed();
}
}
}
AndroidManifest.xml
<?xml version="1.0" encoding="utf-8"?>
<manifest xmlns:android="http://schemas.android.com/apk/res/android"
package="com.techedutricks.techedutricks">

<uses-permission android:name="android.permission.INTERNET"> </uses-permission>

<application
android:allowBackup="true"
android:icon="@mipmap/ic_launcher"
android:label="@string/app_name"
android:roundIcon="@mipmap/ic_launcher_round"
android:supportsRtl="true"
android:theme="@style/Theme.TechEduTricks">
<activity android:name=".MainActivity">
<intent-filter>
<action android:name="android.intent.action.MAIN" />

<category android:name="android.intent.category.LAUNCHER" />
</intent-filter>
</activity>
</application>

</manifest>
Now run the App and you will see the WebView App of your website. You can simply replace the URL with any website URL you want to convert into Android App. Note the website must be mobile-friendly.
In the next lessons, we are improving performance, adding more features, and Make a perfect WebView app. Stay with us and read/learn all the lessons/codes on kdapz.com.

